Generating Data Warehouse Automation schema code in Azure DevOps
Previous posts have gone into detail on using templating engines for code generation, and standardising on design metadata (inputs) for this and other use-cases using the schema for Data Warehouse Automation – referred to as the ‘schema’ for the rest of this article.
Recently, this approach was also connected to the Biml Domain Specific Language to show how to combine these concepts and use a different compiler.
This post is really a bit of automation fun which demonstrates how to use these technologies in an Azure DevOps pipeline.
The pipeline will automate a process that uses input design metadata files, conforming to the schema, and ‘compiles’ these using the ‘RunDwhAutomation’ command line utility. The resulting output code, a collection of Data Vault Hub data logistics processes, is made available as downloadable output ‘artefacts’ in Azure Devops.
The schema definition, the command line utility and various samples and regression testing and validation scripts used here are available on Github.
Setting up Azure DevOps for Data Warehouse Automation
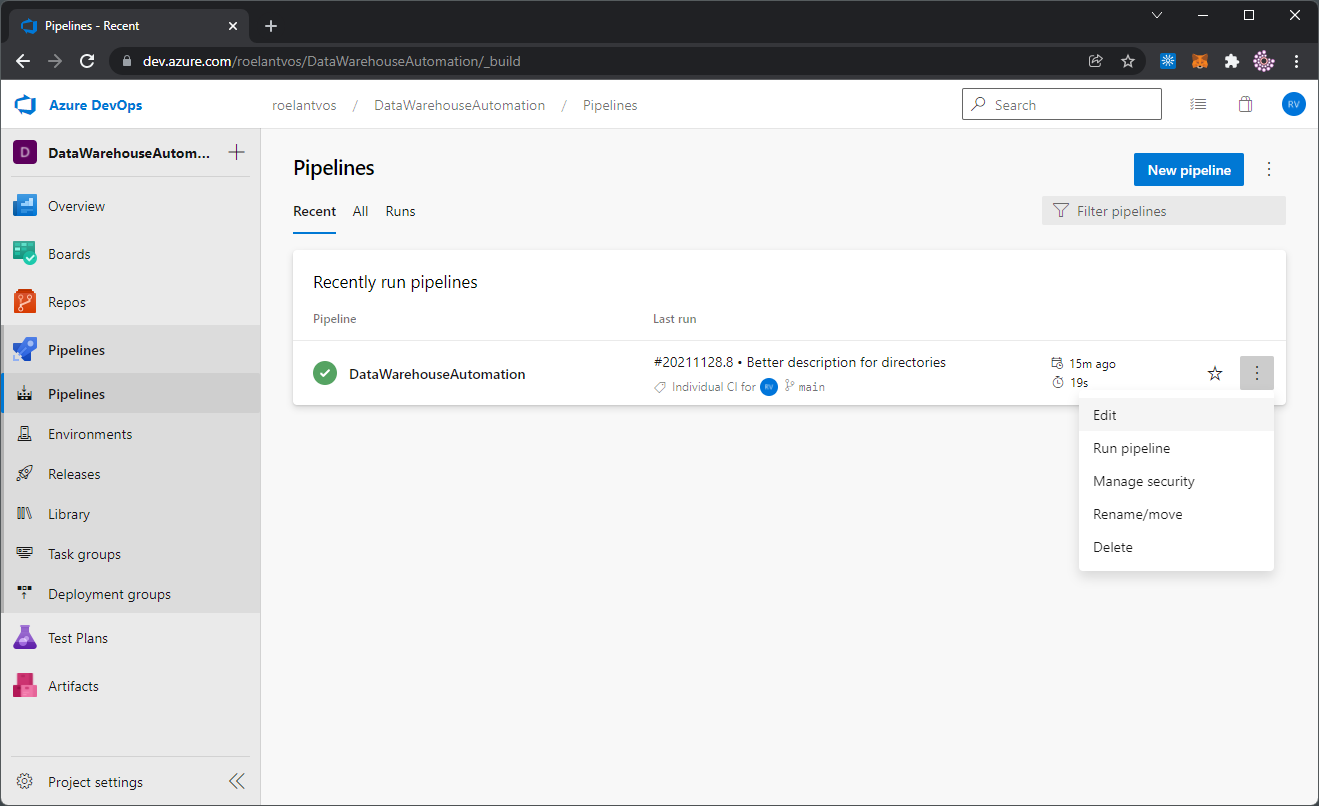
Creating a simple pipeline in Azure DevOps is a relatively straightforward process, and reproducing this example does not require anything that is not out of the box. This is a very vanilla setup that can be configured from scratch in a few minutes.
Assuming you already have an Azure DevOps organisation it really is a simple process. If you don’t have an organisation yet (which is the ‘tenant’ concept in Azure DevOps) then it is equally easy to create a free environment for learning purposes.
In my organisation (‘roelantvos’) I created a new project called ‘DataWarehouseAutomation.

This project can then be connected to a Git repository, in this example one called ‘DataWarehouseAutomation’ also as per the screenshot below.
The idea is that everything that needs to be provided for the process goes through this repository, so that versions are managed and test, control and approval processes are automatically in place.
Practically speaking this means that the input metadata and the executable need to be available in the repository for the pipeline to be able to use them.

When you set up a new project, Azure DevOps will ask you to create a new Git repository which will then be empty expect for maybe a readme text file. The recommended way to work is to clone this repository to your local environment and add the necessary files and structures there.
I have set this up as follows, by adding the directories and files from my local environment:
- metadata-files, which is meant as directory containing all design metadata JSON files that conform to the schema
- template-files, which contains the code generation templates such as using Handlebars
- compiler, which contains the executable (‘RunDwhAutomation’)
- output, which acts as target directory to capture the generated code outputs
Git won’t allow you to commit empty directories so I made sure every directory contains a readme file that explains its purpose.
In the metadata-files directory I added two samples used in various places in this blog. They are also available as part of the sample metadata on the schema Github.
For the template I used the ‘Hub View’ templates from the Virtual Data Warehouse load pattern directory, and this file is copied to the template-files directory.
Last, but not least, I copied the RunDwhAutomation executable to the compiler directory.
That’s all you need.
Setting up the pipeline
Now all the required components are available and it’s time to configure the pipeline. In the above screenshot the ‘azure-pipelines.yml’ file is already visible. This is because the pipeline definition itself is also managed in the same Git repository.
Pipeline files are usually in Yaml format, which is text-based and thus easy to manage in Git.
While it is possible to write the pipeline using a text editor it is often easier to use the GUI that is available in Azure DevOps. There are various wizards available there that simplify the creation of the Yaml segments.
The pipeline here contains the following definitions:
#Data Warehouse Automation

trigger:
- main

pool:
  vmImage: 'windows-latest'

steps:

- task: CopyFiles@2
  name: CopyInputMetadata
  inputs:
    SourceFolder: 'metadata-files'
    Contents: '**'
    TargetFolder: '$(Build.SourcesDirectory)\compile'
    CleanTargetFolder: true
    OverWrite: true

- task: CmdLine@2
  name: GenerateSQL
  inputs:
    script: '$(Build.SourcesDirectory)\compiler\RunDwhAutomation.exe -i $(Build.SourcesDirectory)\compile\ -p $(Build.SourcesDirectory)\template-files\loadPatternHubView.handlebars -v -o -e sql -d $(Build.SourcesDirectory)\output\'

- publish: $(Build.SourcesDirectory)\compile\
  artifact: output
This (very basic) pipeline works as follows:
- A trigger checks the ‘main’ branch in the repository. So, if a change is detected via a commit to the main branch this pipeline will start running. This is useful for example when a Pull Request adds new design metadata into the main branch, because the resulting code will be automatically generated.
- Two tasks are defined as pipeline steps:
- Copy all files from the ‘metadata-files’ directory into a temporary ‘compile’ directory. Strictly not necessary, but added to show how workflows can be shaped.
- Run a Command Line script, in this case calling the RunDwhAutomation.exe with a number of parameters specifying the inputs, outputs and code generation flags.
- Publish the resulting files in the output directory as downloadable artefacts from the pipeline.
The various options to execute RunDwhAutomation are best reviewed by running the program without any parameters or viewing the Github, but what happens here is that all metadata files in the ‘compile’ directory are merged with the loadPatternHubView.handlebars patterns. The result is given a .sql extension and is saved in the ‘output’ directory.
Note that the $(Build.SourcesDirectory) path is an internal variable that points to the root of the repository. This way, there is always a relative path available to the files in the repository when these are used by the pipeline.
Running the pipeline, and reviewing the results
Any commit to the main branch will trigger a pipeline run, but you can also run this from Azure DevOps directly.
When the pipeline runs, it will execute the steps that have been defined earlier and the results can be viewed in the pipeline console.

The generated SQL code is visible because the RunDwhAutomation is configured to spool results to the console (-v flag), and so they are visible via the pipeline also.
Finally, navigating back the pipeline run shows the files made available for further use as published artefacts.

This concludes a simple example of how to set up your own code generation pipeline in Azure DevOps. Happy coding!